Olive Garden Breadsticks
Warm and Buttery Delights: The Allure of Homemade Olive Garden Breadsticks
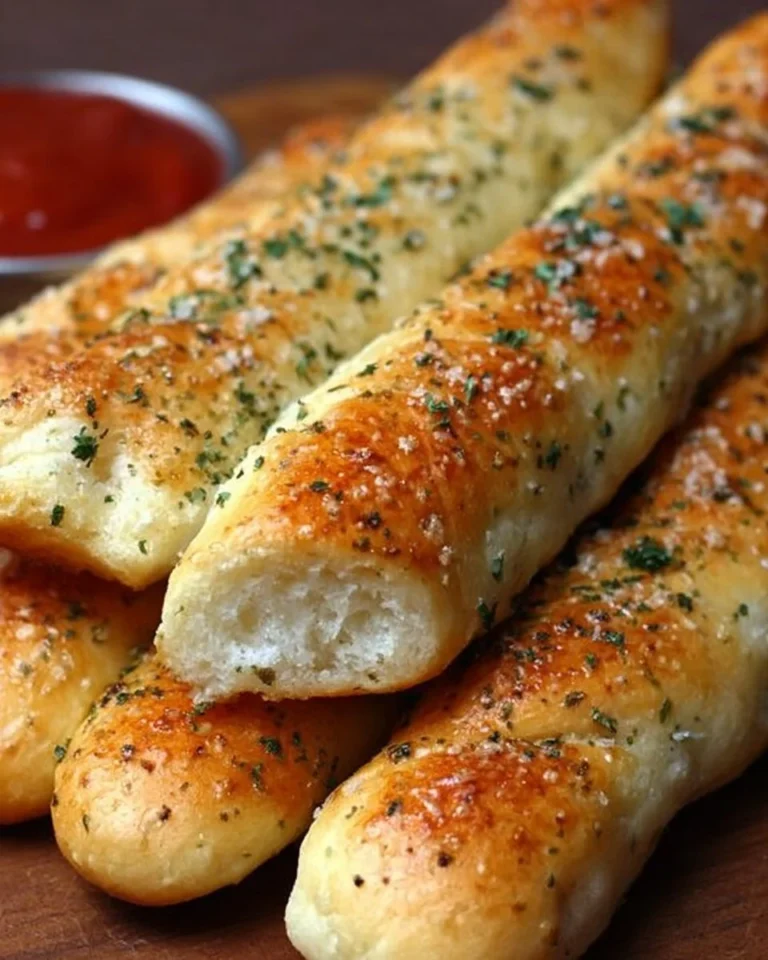
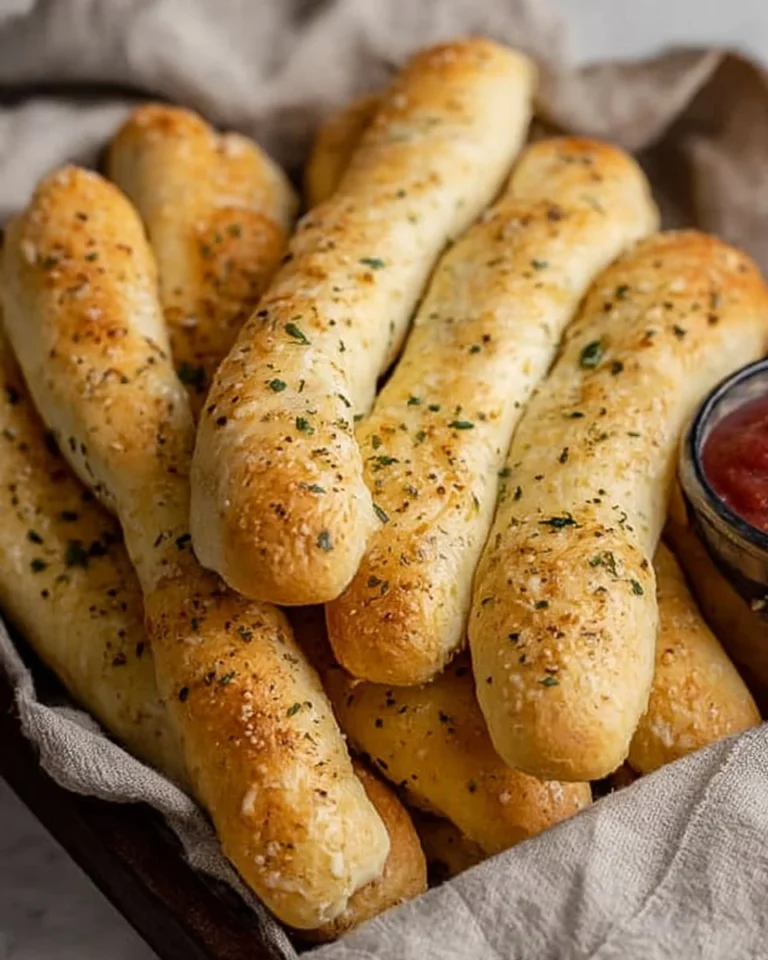
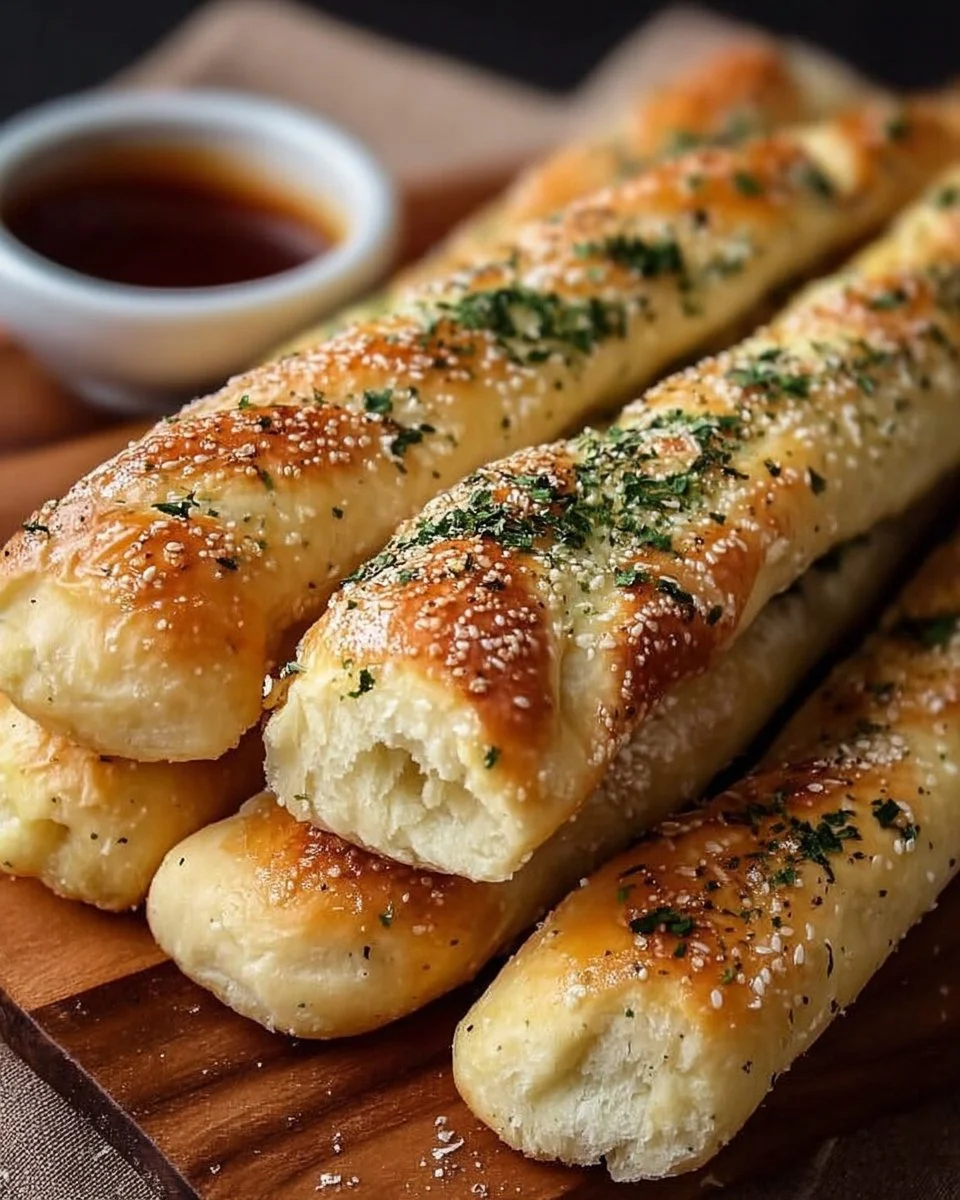
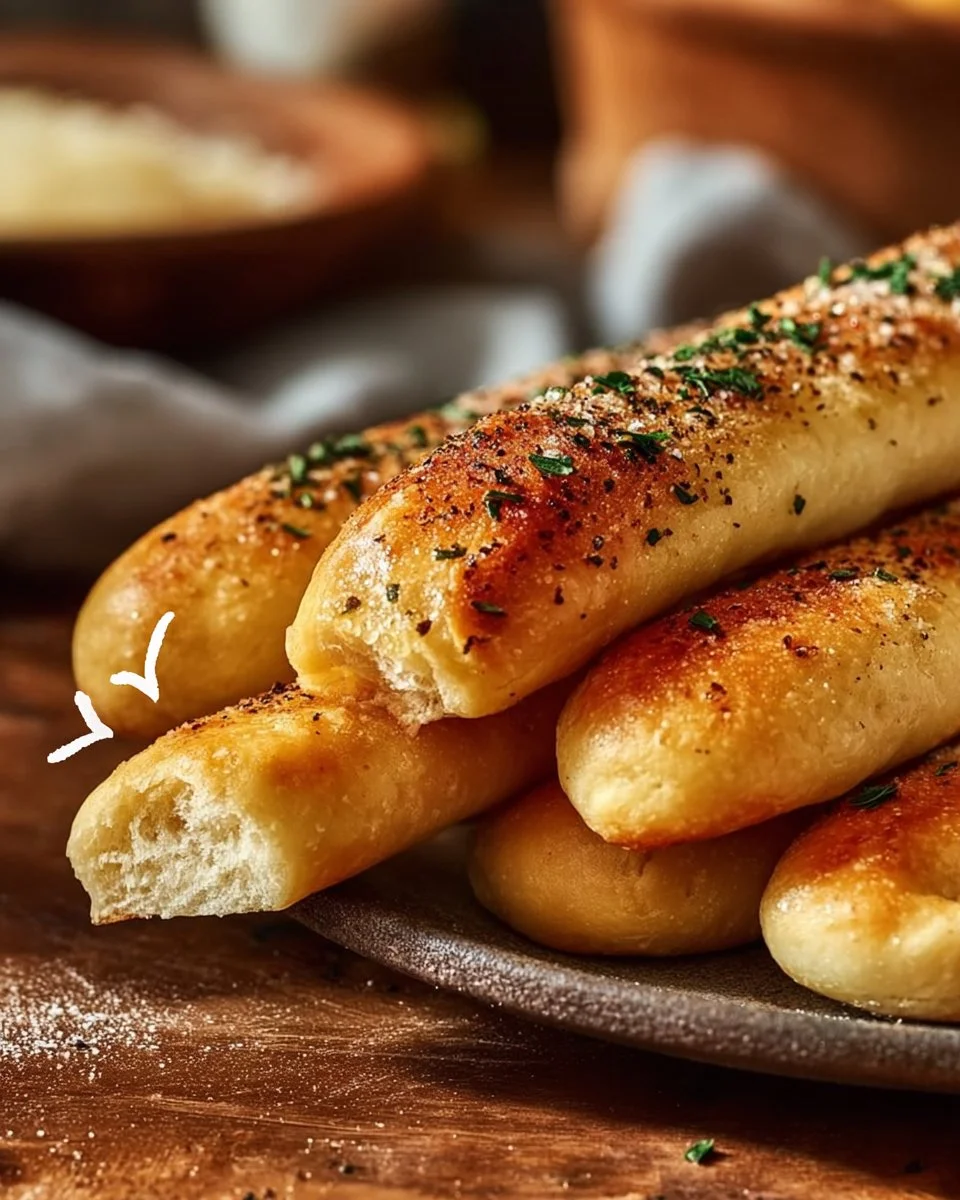
There’s something undeniably comforting about fresh, warm breadsticks, especially when they evoke memories of dining at Olive Garden. These delectable breadsticks are soft, fluffy, and brushed with a buttery garlic mixture that elevates them to a whole new level. Whether you’re preparing a family dinner, hosting friends, or enjoying a cozy evening at home, crafting these breadsticks adds that special touch that makes any meal feel like a celebration.
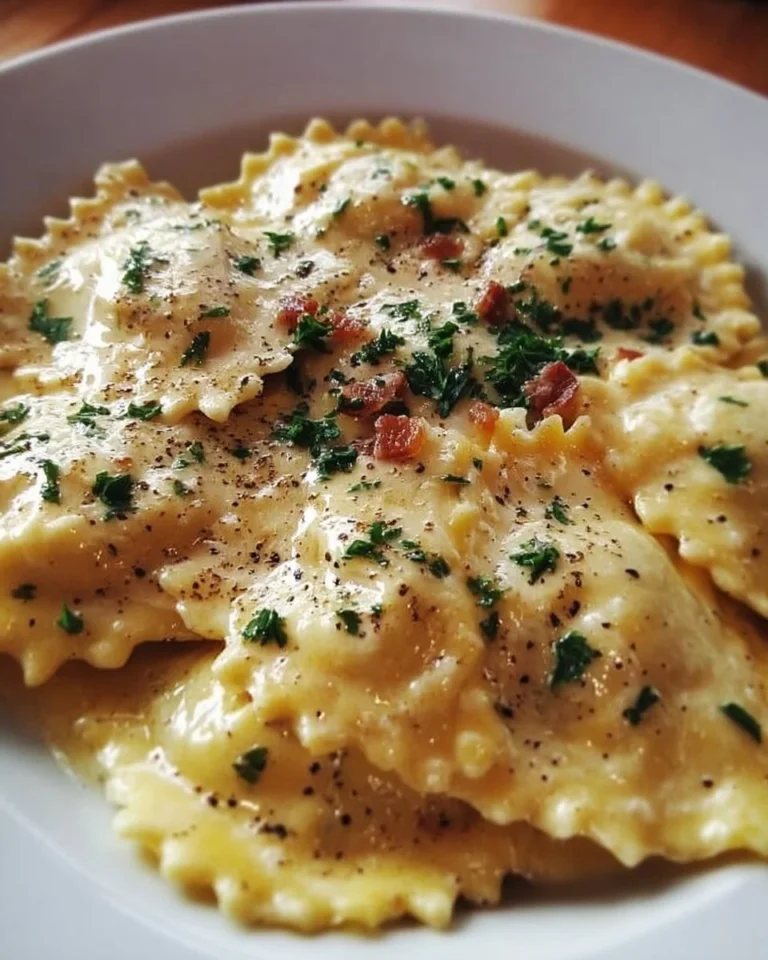
Why do so many people crave this recipe? Perhaps it’s the fact that they can be made effortlessly from scratch with just a handful of ingredients. Not to mention, they are a perfect complement to a hearty soup or a garden salad, making them ideal for both quick weeknight dinners and grand family gatherings. Once you experience the warm, inviting aroma of these breadsticks wafting from your oven, you’ll understand why they’re considered a favorite in many households.
What You Need to Know About This Recipe
When it comes to breadsticks, the homemade version stands out for several reasons. Firstly, they’re budget-friendly; with simple ingredients, you can whip up a batch that rivals restaurant quality. Secondly, they’re a fantastic way to get the kids involved in the kitchen—who doesn’t love rolling dough into ropes? Lastly, making them from scratch allows you to adjust flavors and toppings to suit your preferences.
“These breadsticks are a game-changer! They disappeared at dinner faster than I could keep up.”
The Cooking Process Explained
This recipe for Olive Garden Breadsticks is straightforward, making it approachable for cooks of all skill levels. Let’s break down the process step by step:
- You’ll start by mixing your dry ingredients and then gradually incorporating warm water to form a dough.
- After kneading the dough to smooth perfection, it will rise until doubled in size.
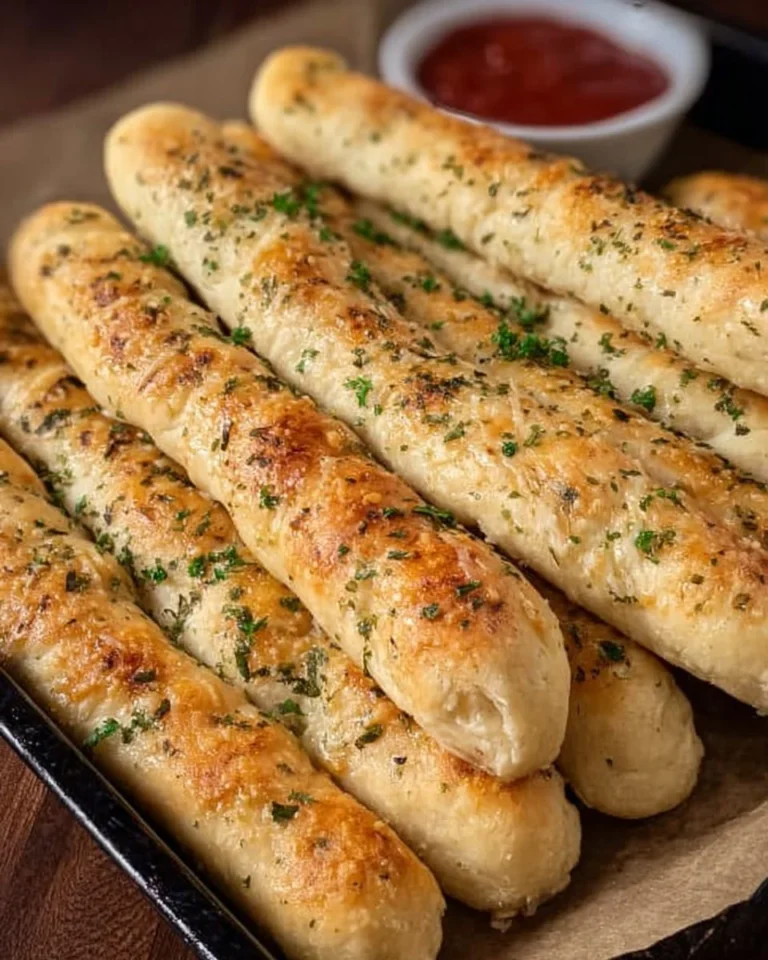
- Once the dough is ready, simply punch it down, shape it into lovely sticks, and let them rise again before baking to golden perfection.
The whole process from mixing to baking takes only a couple of hours, and the pay-off is just divine.
Gather These Items
Here’s what you’ll need to create these delightful breadsticks:
- 4 cups all-purpose flour
- 2 tablespoons sugar
- 1 packet (2 1/4 teaspoons) instant yeast
- 1 teaspoon salt
- 1 1/2 cups warm water
- 1/4 cup unsalted butter, melted
- 1 teaspoon garlic powder
- 1 teaspoon salt (for topping)
- 1 tablespoon olive oil (for brushing)
Feel free to explore substitutions; for instance, if you’re out of unsalted butter, you can use margarine or even a dairy-free alternative for a different twist.
Step-by-Step Instructions
- In a large bowl, combine the flour, sugar, yeast, and 1 teaspoon of salt.
- Gradually add warm water and mix until a dough begins to form.
- Knead the dough on a floured surface for about 5 minutes until smooth and elastic.
- Place the dough in a greased bowl, cover it, and let it rise in a warm place for about 1 hour, or until it has doubled in size.
- Preheat your oven to 425°F (220°C).
- Once risen, punch down the dough and divide it into 12 equal pieces.
- Roll each piece into a long rope and place it on a greased baking sheet.
- Cover the breadsticks with a cloth and let them rise for another 30 minutes.
- Bake in the preheated oven for approximately 10-12 minutes or until golden brown.
- While the breadsticks are baking, mix melted butter with garlic powder and brush this over the warm breadsticks as soon as they come out of the oven.
- Sprinkle additional salt on top before serving.
Best Ways to Enjoy It
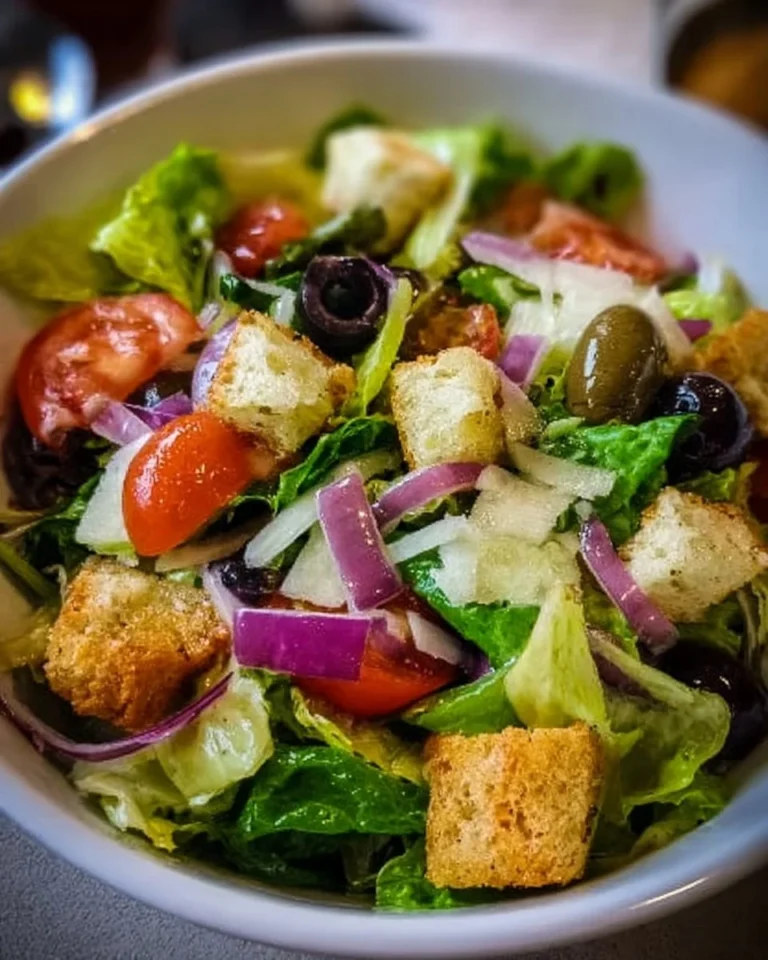
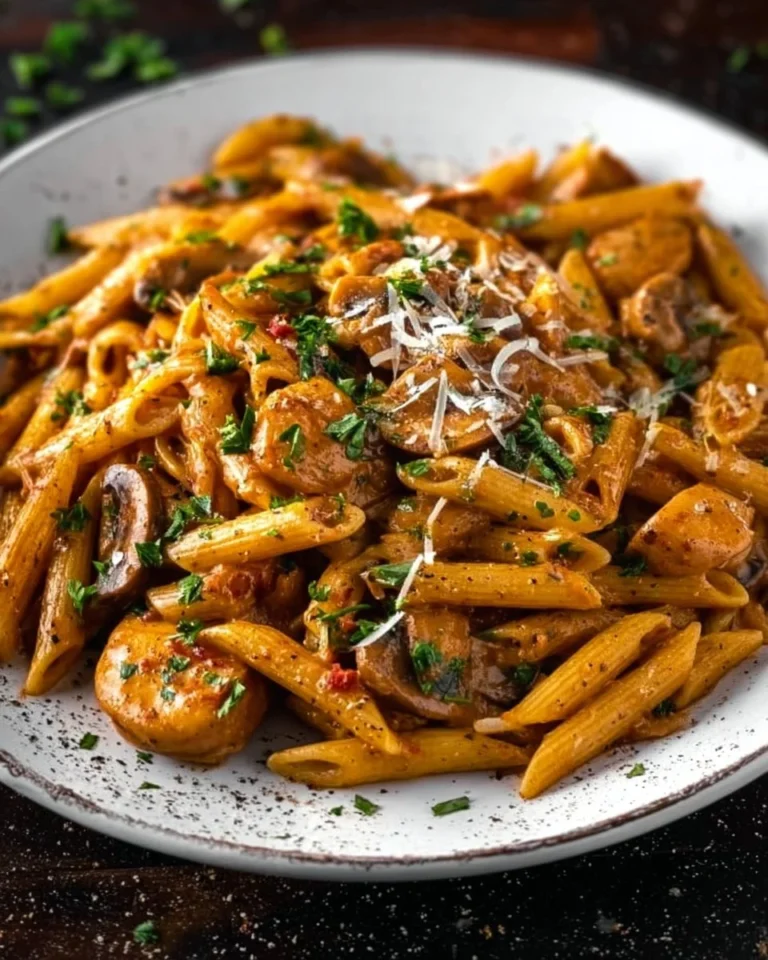
Serving these breadsticks is truly where your creativity can shine. Pair them with a steaming bowl of minestrone soup or a crisp Caesar salad for a complete Olive Garden-inspired meal. You could also present them with a flavorful marinara sauce for dipping, making them an enjoyable appetizer that invites sharing. Don’t forget to have some fresh parmesan cheese handy to sprinkle on top!
Keeping Leftovers Fresh
If you happen to have any breadsticks left (though it’s rare), here’s how to store them properly. Let them cool completely to room temperature before placing them in an airtight container. They should be stored at room temperature if you plan to eat them within a couple of days. For longer storage, consider wrapping them tightly in plastic wrap and placing them in the freezer—this will keep them fresh for up to a month. When you’re ready to enjoy, simply reheat them in the oven or microwave.
Pro Chef Tips
To achieve that perfect crust and texture, make sure your oven is preheated before placing the breadsticks inside. A hot oven will give them a lovely rise and color. If you want to infuse them with more flavor, consider adding herbs like rosemary or thyme directly into the dough.
Creative Twists
Don’t be afraid to experiment with flavors! You can add different spices or herbs to the dough, such as Italian seasoning or cracked pepper. If you want to spice things up, sprinkle some parmesan cheese on top before baking. For a sweet twist, consider brushing them with cinnamon butter instead of garlic!
Your Questions Answered
How long does it take to make these breadsticks?
From start to finish, expect around 2 hours, including rising time.
Can I use all-purpose flour instead of bread flour?
Absolutely! All-purpose flour works perfectly fine for this recipe.
How do I know when the breadsticks are done?
They should be golden brown and sound hollow when tapped on the bottom.
Can these be frozen?
Yes, they freeze well! Just wrap them tightly and reheat when needed.
Conclusion
Homemade Olive Garden Breadsticks are a delightful addition to any meal or gathering. With a bit of time and love, you can create these warm, buttery treats that everyone will adore. For a handy step-by-step guide, check out this copycat Olive Garden Breadsticks recipe for even more tips and variations! Enjoy the process and happy baking!