The Best Olive Garden Breadsticks Copycat Recipe
What Makes These Olive Garden Breadsticks Special?
There’s something undeniably comforting about a warm, fresh breadstick. They’re soft, buttery, and just the right amount of chewy. If you’ve ever dined at Olive Garden, you know their breadsticks are not just a side; they’re a highlight! This copycat recipe brings the beloved taste of those restaurant-style breadsticks right into your kitchen, making it perfect for family dinners, casual gatherings, or a cozy night in. My first time attempting this recipe was an absolute game-changer. The moment I pulled them out of the oven, the smell filled my home and transported me right back to that warm and welcoming atmosphere of Olive Garden.
Why You’ll Love This Dish
Making these breadsticks at home is not only rewarding, but it also opens the door to customization. They’re incredibly budget-friendly, simple to prepare, and adored by kids and adults alike. Picture this: a rainy weekday evening where everyone is a little grumpy. These homemade breadsticks swoop in to save the day, bringing smiles and warmth to the table. If you’re looking for an easy recipe that feels indulgent, these breadsticks are your answer.
"Every bite took me back to Olive Garden! I had no idea making these at home could be this easy. They disappeared within minutes!" – A satisfied home chef.
The Cooking Process Explained
Making Olive Garden-style breadsticks at home is a delightful experience that only requires a few simple steps. You’ll begin by mixing the yeast with warm water, letting it froth up. While that’s happening, gather your dry ingredients in a separate bowl. Then, merge the two mixtures together and knead! After letting your dough rise, it’s just a matter of baking these beauties to perfection.
What You’ll Need
Here’s a list of ingredients to gather before you start your cooking adventure:
- 1 tsp Garlic powder
- 2 1/4 tsp Active dry yeast
- 4 1/3 cups All-purpose flour
- 2 1/4 tsp Salt
- 2 tbsp Sugar
- 2 tbsp Olive oil
- 2 tbsp Butter
- 1 1/2 cups Water
These ingredients work harmoniously to recreate that iconic flavor and soft texture. Feel free to explore! For example, you could swap out olive oil for melted coconut oil for a different taste profile, or you can add some herbs into the dough for a twist on flavor.
Step-by-Step Instructions
- Activate the Yeast: In a bowl, mix warm water and active dry yeast. Let it sit for about 5-10 minutes until it becomes frothy.
- Mix the Dry Ingredients: In a large separate bowl, combine the flour, salt, sugar, and garlic powder.
- Combine Mixtures: Add the yeast mixture, olive oil, and melted butter into the bowl with dry ingredients. Mix until a dough starts to form.
- Knead the Dough: On a floured surface, knead the dough for approximately 5 minutes until it’s smooth and elastic.
- Let It Rise: Place the kneaded dough in a greased bowl, cover with a damp cloth, and let it rise for about 1 hour, or until it’s doubled in size.
- Preheat the Oven: While the dough rises, preheat your oven to 400°F (200°C).
- Shape the Breadsticks: Once the dough has risen, punch it down and divide it into 16 equal pieces. Roll each piece into a stick shape and place them on a baking sheet.
- Final Rise: Let the shaped breadsticks rise again for about 20 minutes.
- Bake: Pop them into the oven and bake for about 15-20 minutes until they turn golden brown.
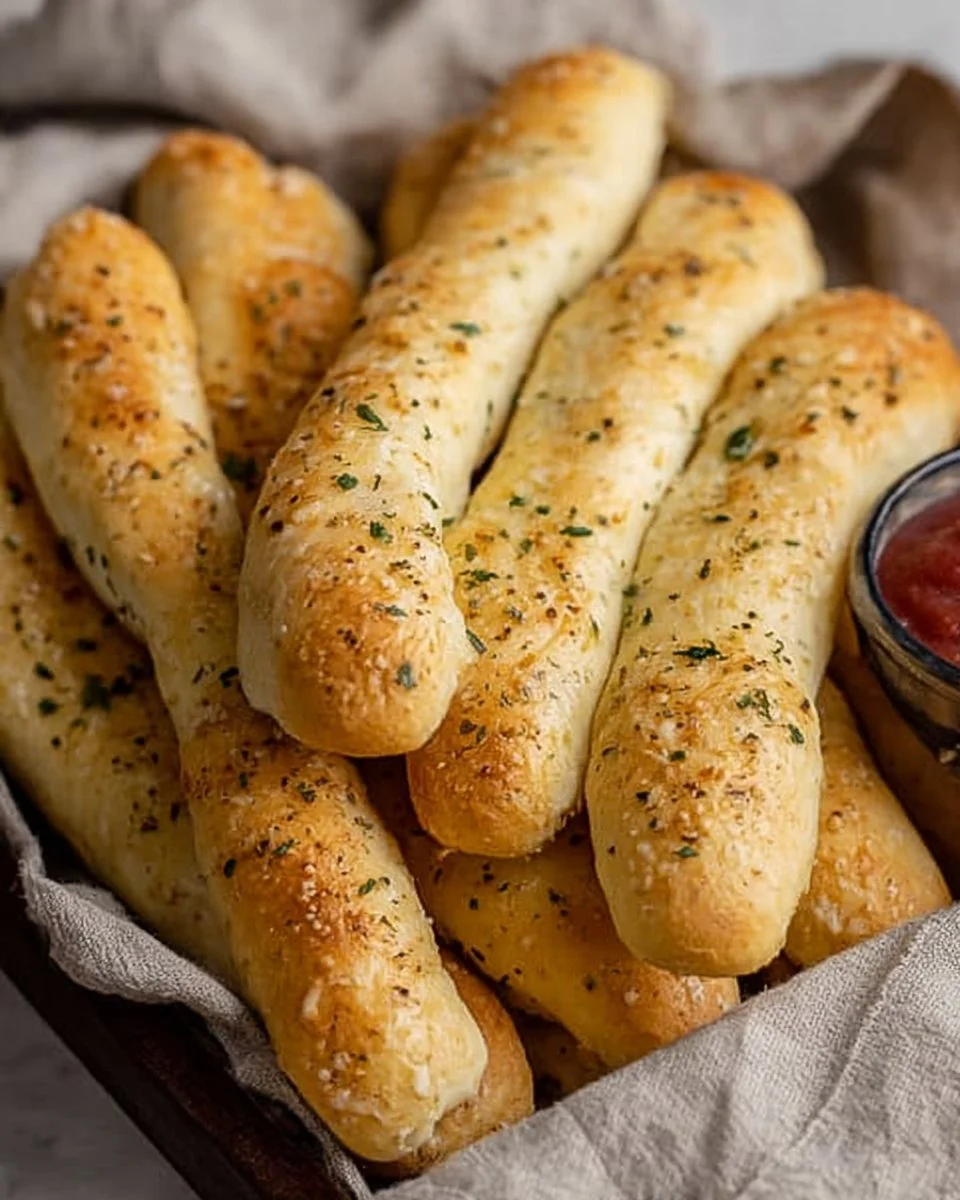
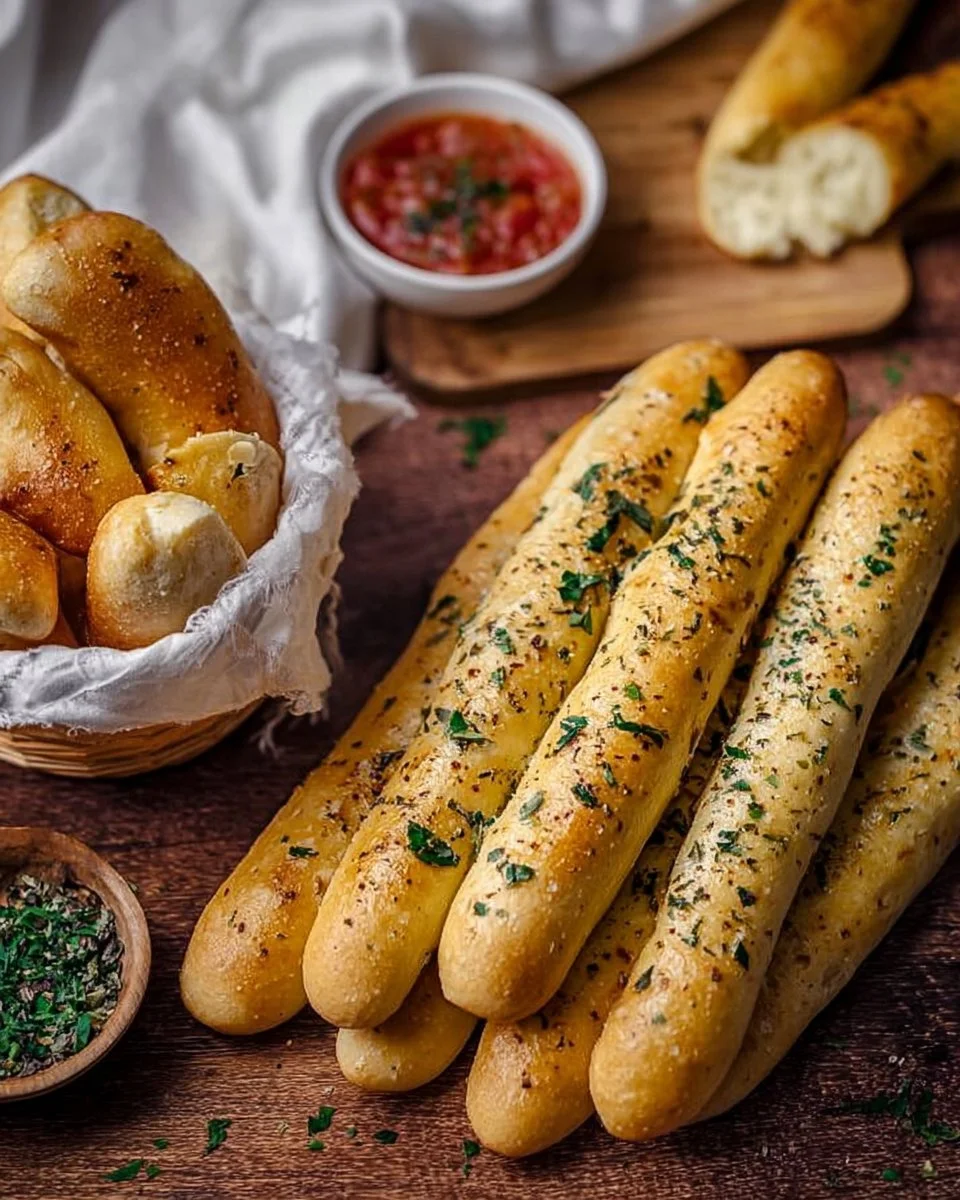
- Brush and Serve: Brush warm sticks with melted butter before serving to get that delicious garlic flavor.
Best Ways to Enjoy It
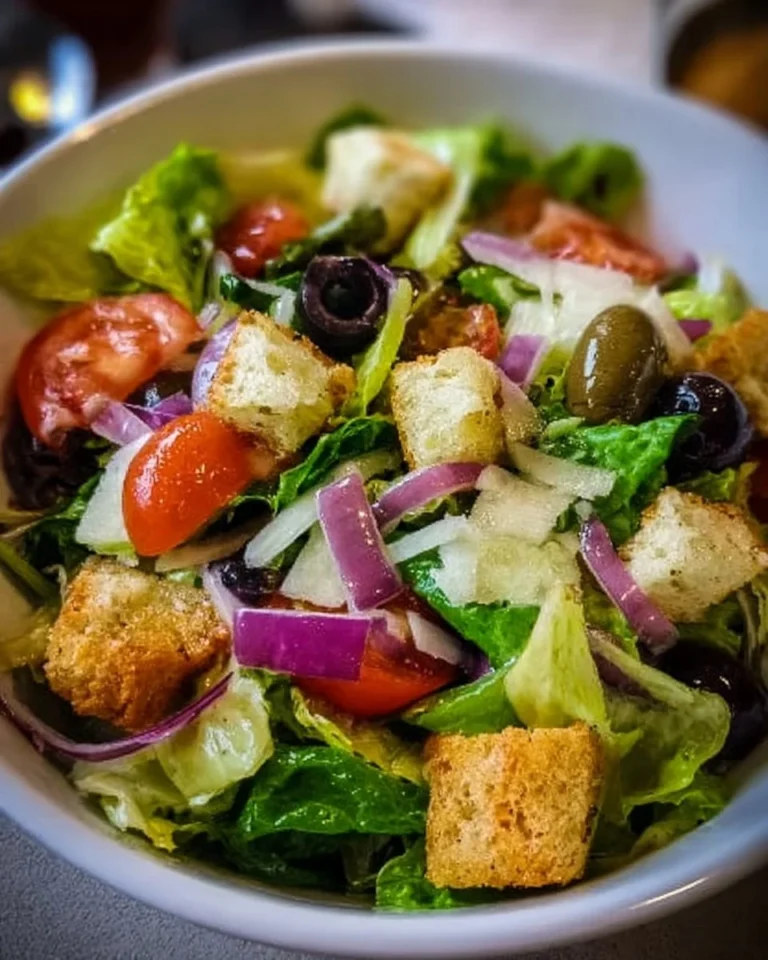
These Olive Garden breadsticks are the ultimate side dish. Serve them alongside your favorite pasta dishes, salads, or soups for a complete meal. They are also great for dipping in marinara sauce or even some olive oil infused with herbs. Consider placing them in a basket lined with a cloth to maintain warmth and enhance presentation at your dinner table.
Storage and Reheating Tips
If you have any leftover breadsticks (which is rare!), storing them is easy. Place them in an airtight container or wrap them in foil to keep them fresh for up to 2 days at room temperature. You can also freeze them if you want to save some for later! Just pop them into a freezer-safe bag, and they can last for up to a month. To reheat, wrap them in foil and warm them in the oven until toasty.
Helpful Tips for Success
- Make sure your water is not too hot when activating the yeast; it should feel warm to the touch but not scalding.
- Knead the dough until it’s smooth and elastic for the best texture.
- If you want to add additional flavor, consider tossing in some grated Parmesan cheese into the dough or sprinkling it on top before baking.
Creative Twists to Try
Feel free to experiment with these breadsticks! Add some herbs like rosemary or thyme into the dough for a fragrant twist. You might consider topping them with some sea salt or herbs mixed with the melted butter for even more flavor. Another idea is to stuff them with cheese before baking for a cheesy surprise!
Common Questions
How long do these breadsticks take to prepare?
- The total time is about 2 hours, including the rising period, but the actual active cooking time is quite short.
Can I substitute any ingredients?
- Absolutely! If you don’t have all-purpose flour, bread flour can give a slightly different texture.
Are these breadsticks freezer-friendly?
- Yes! You can freeze them for up to a month and reheat them in the oven.
What if I’m gluten-free?
- You can try using a gluten-free flour blend, although the texture may vary from traditional breadsticks.
Conclusion
Making your own version of Olive Garden’s breadsticks is a delightful experience, bringing nostalgia and warmth to your home. With a few simple ingredients and steps, you can create this delicious side that everyone will love. If you’re interested in another delicious recipe, check out this Copycat Olive Garden Breadsticks Recipe – Handle the Heat for even more tips and tricks! Enjoy your baking!